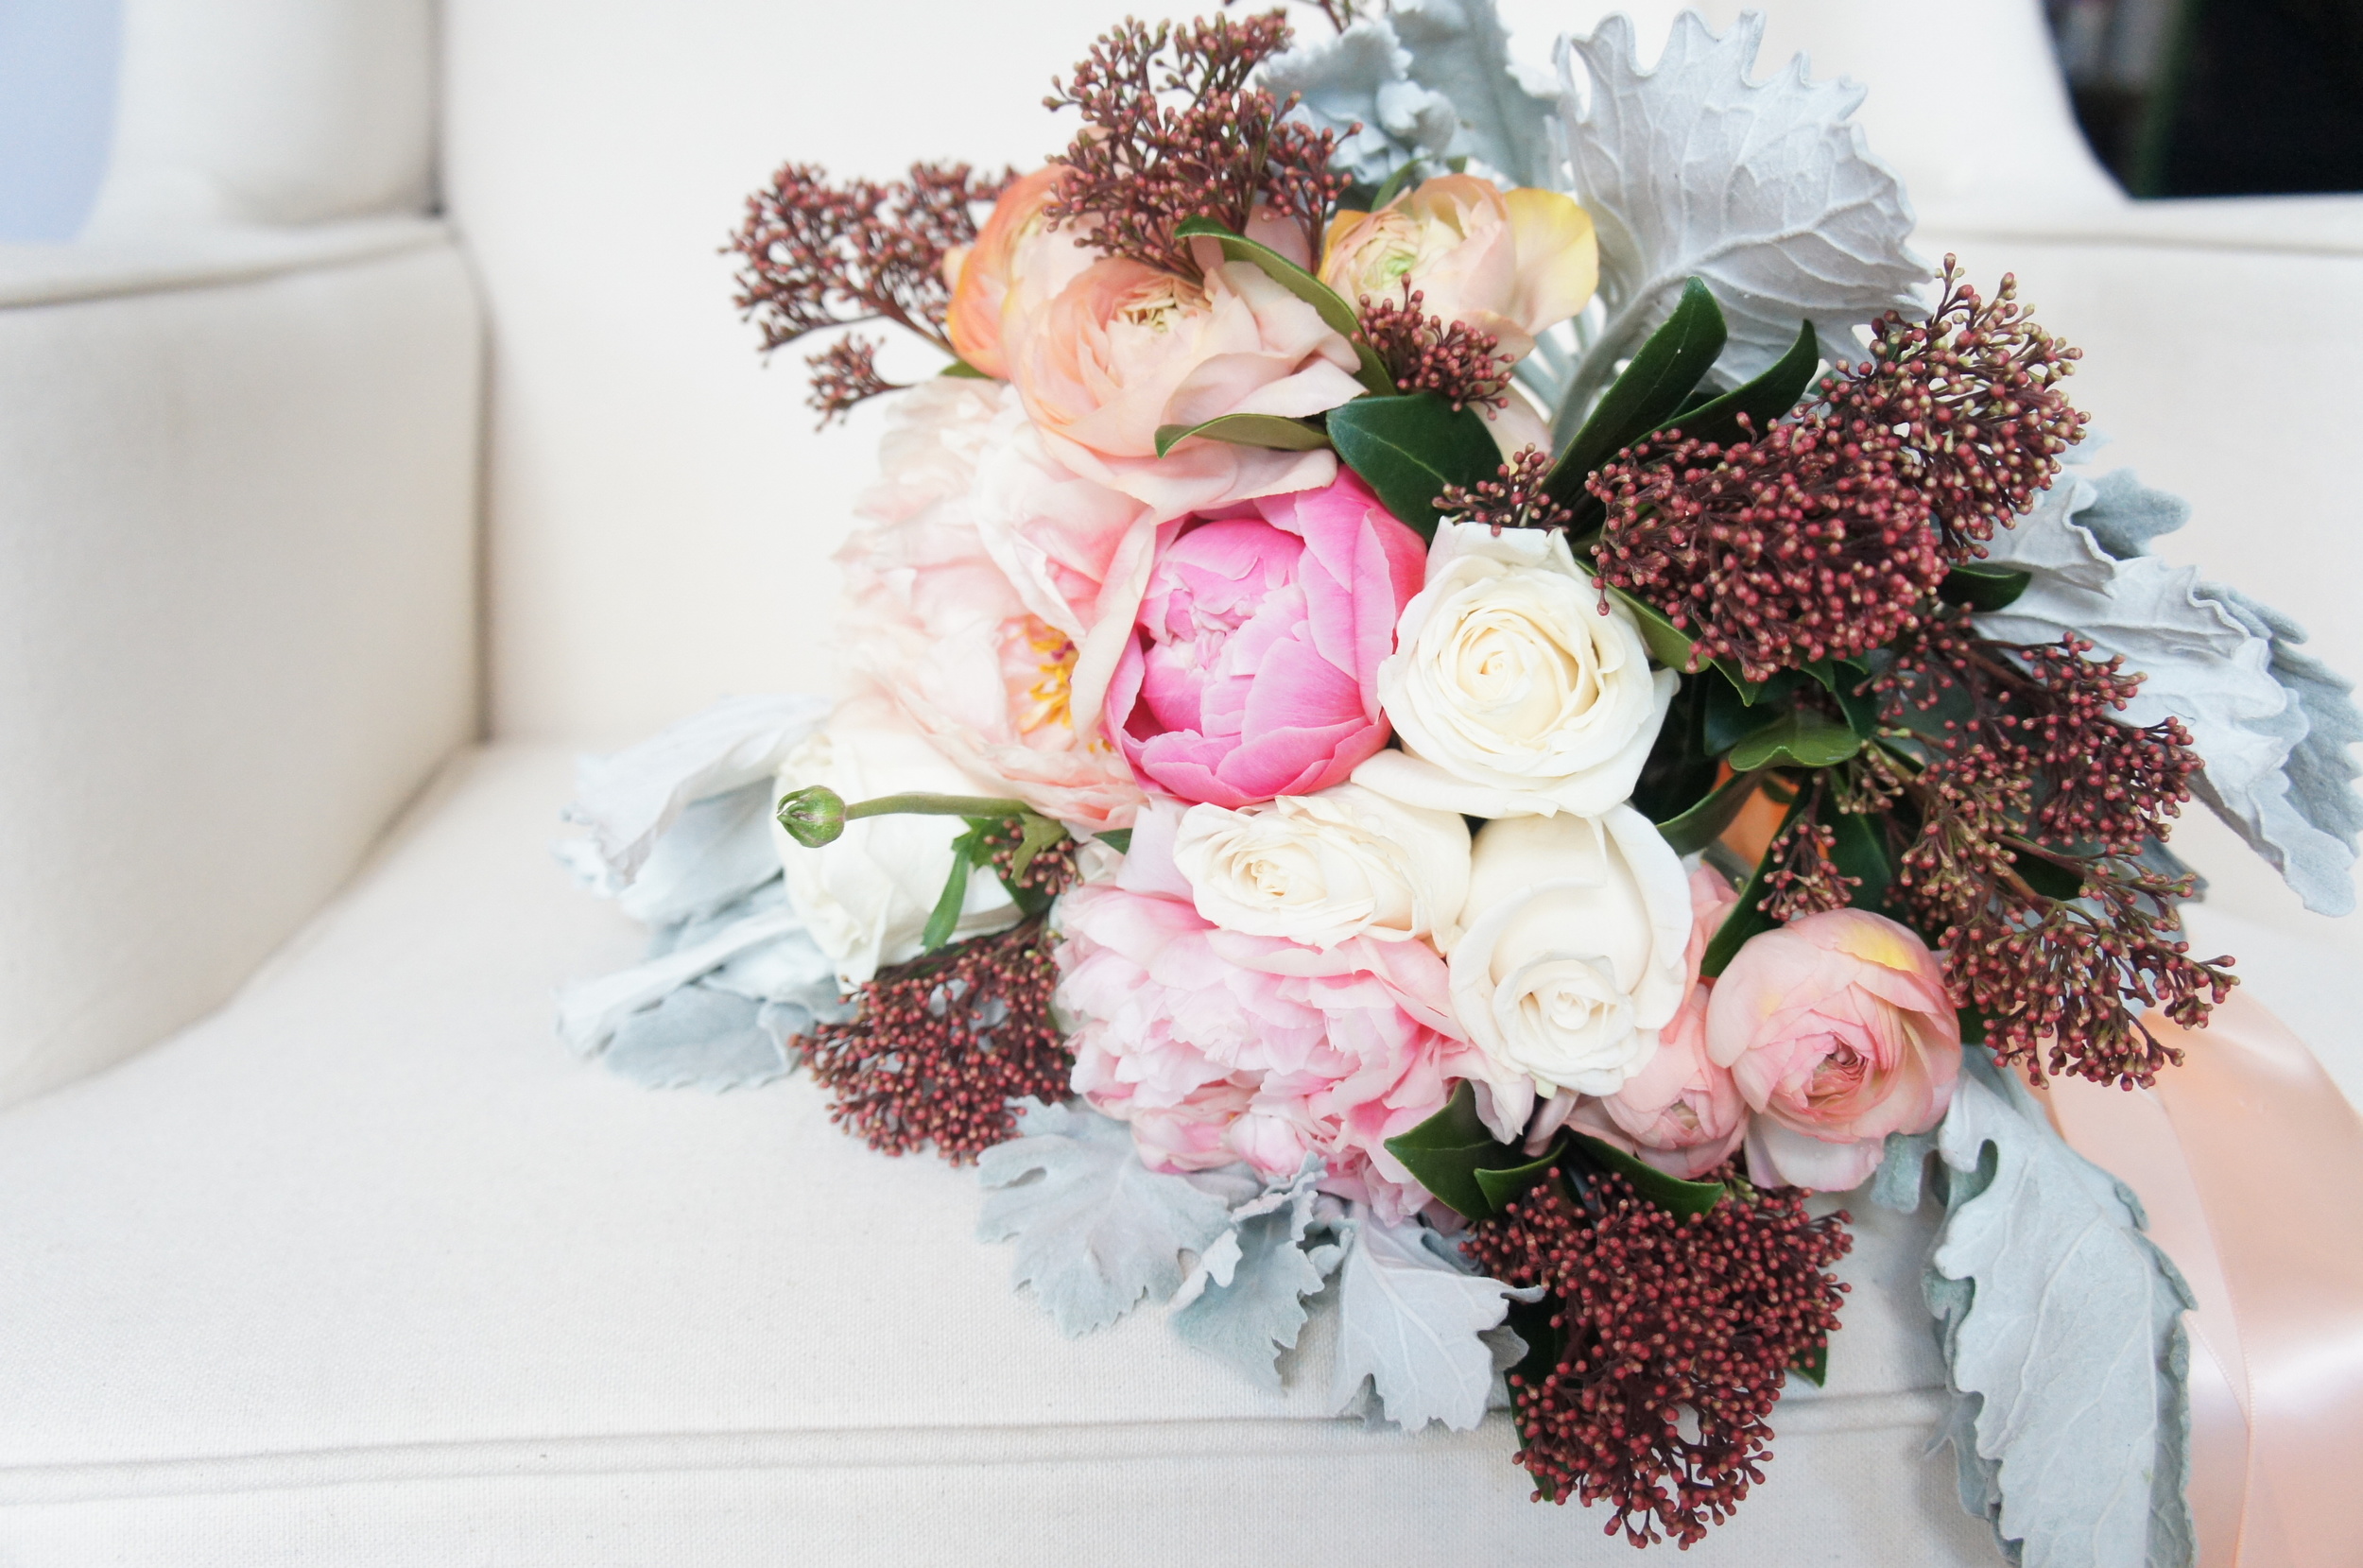
A step-by-step guide to DIY your own, or your besties, bouquet!
Featured in Zardozi Magazine, Issue No. 6.

Get Prepared
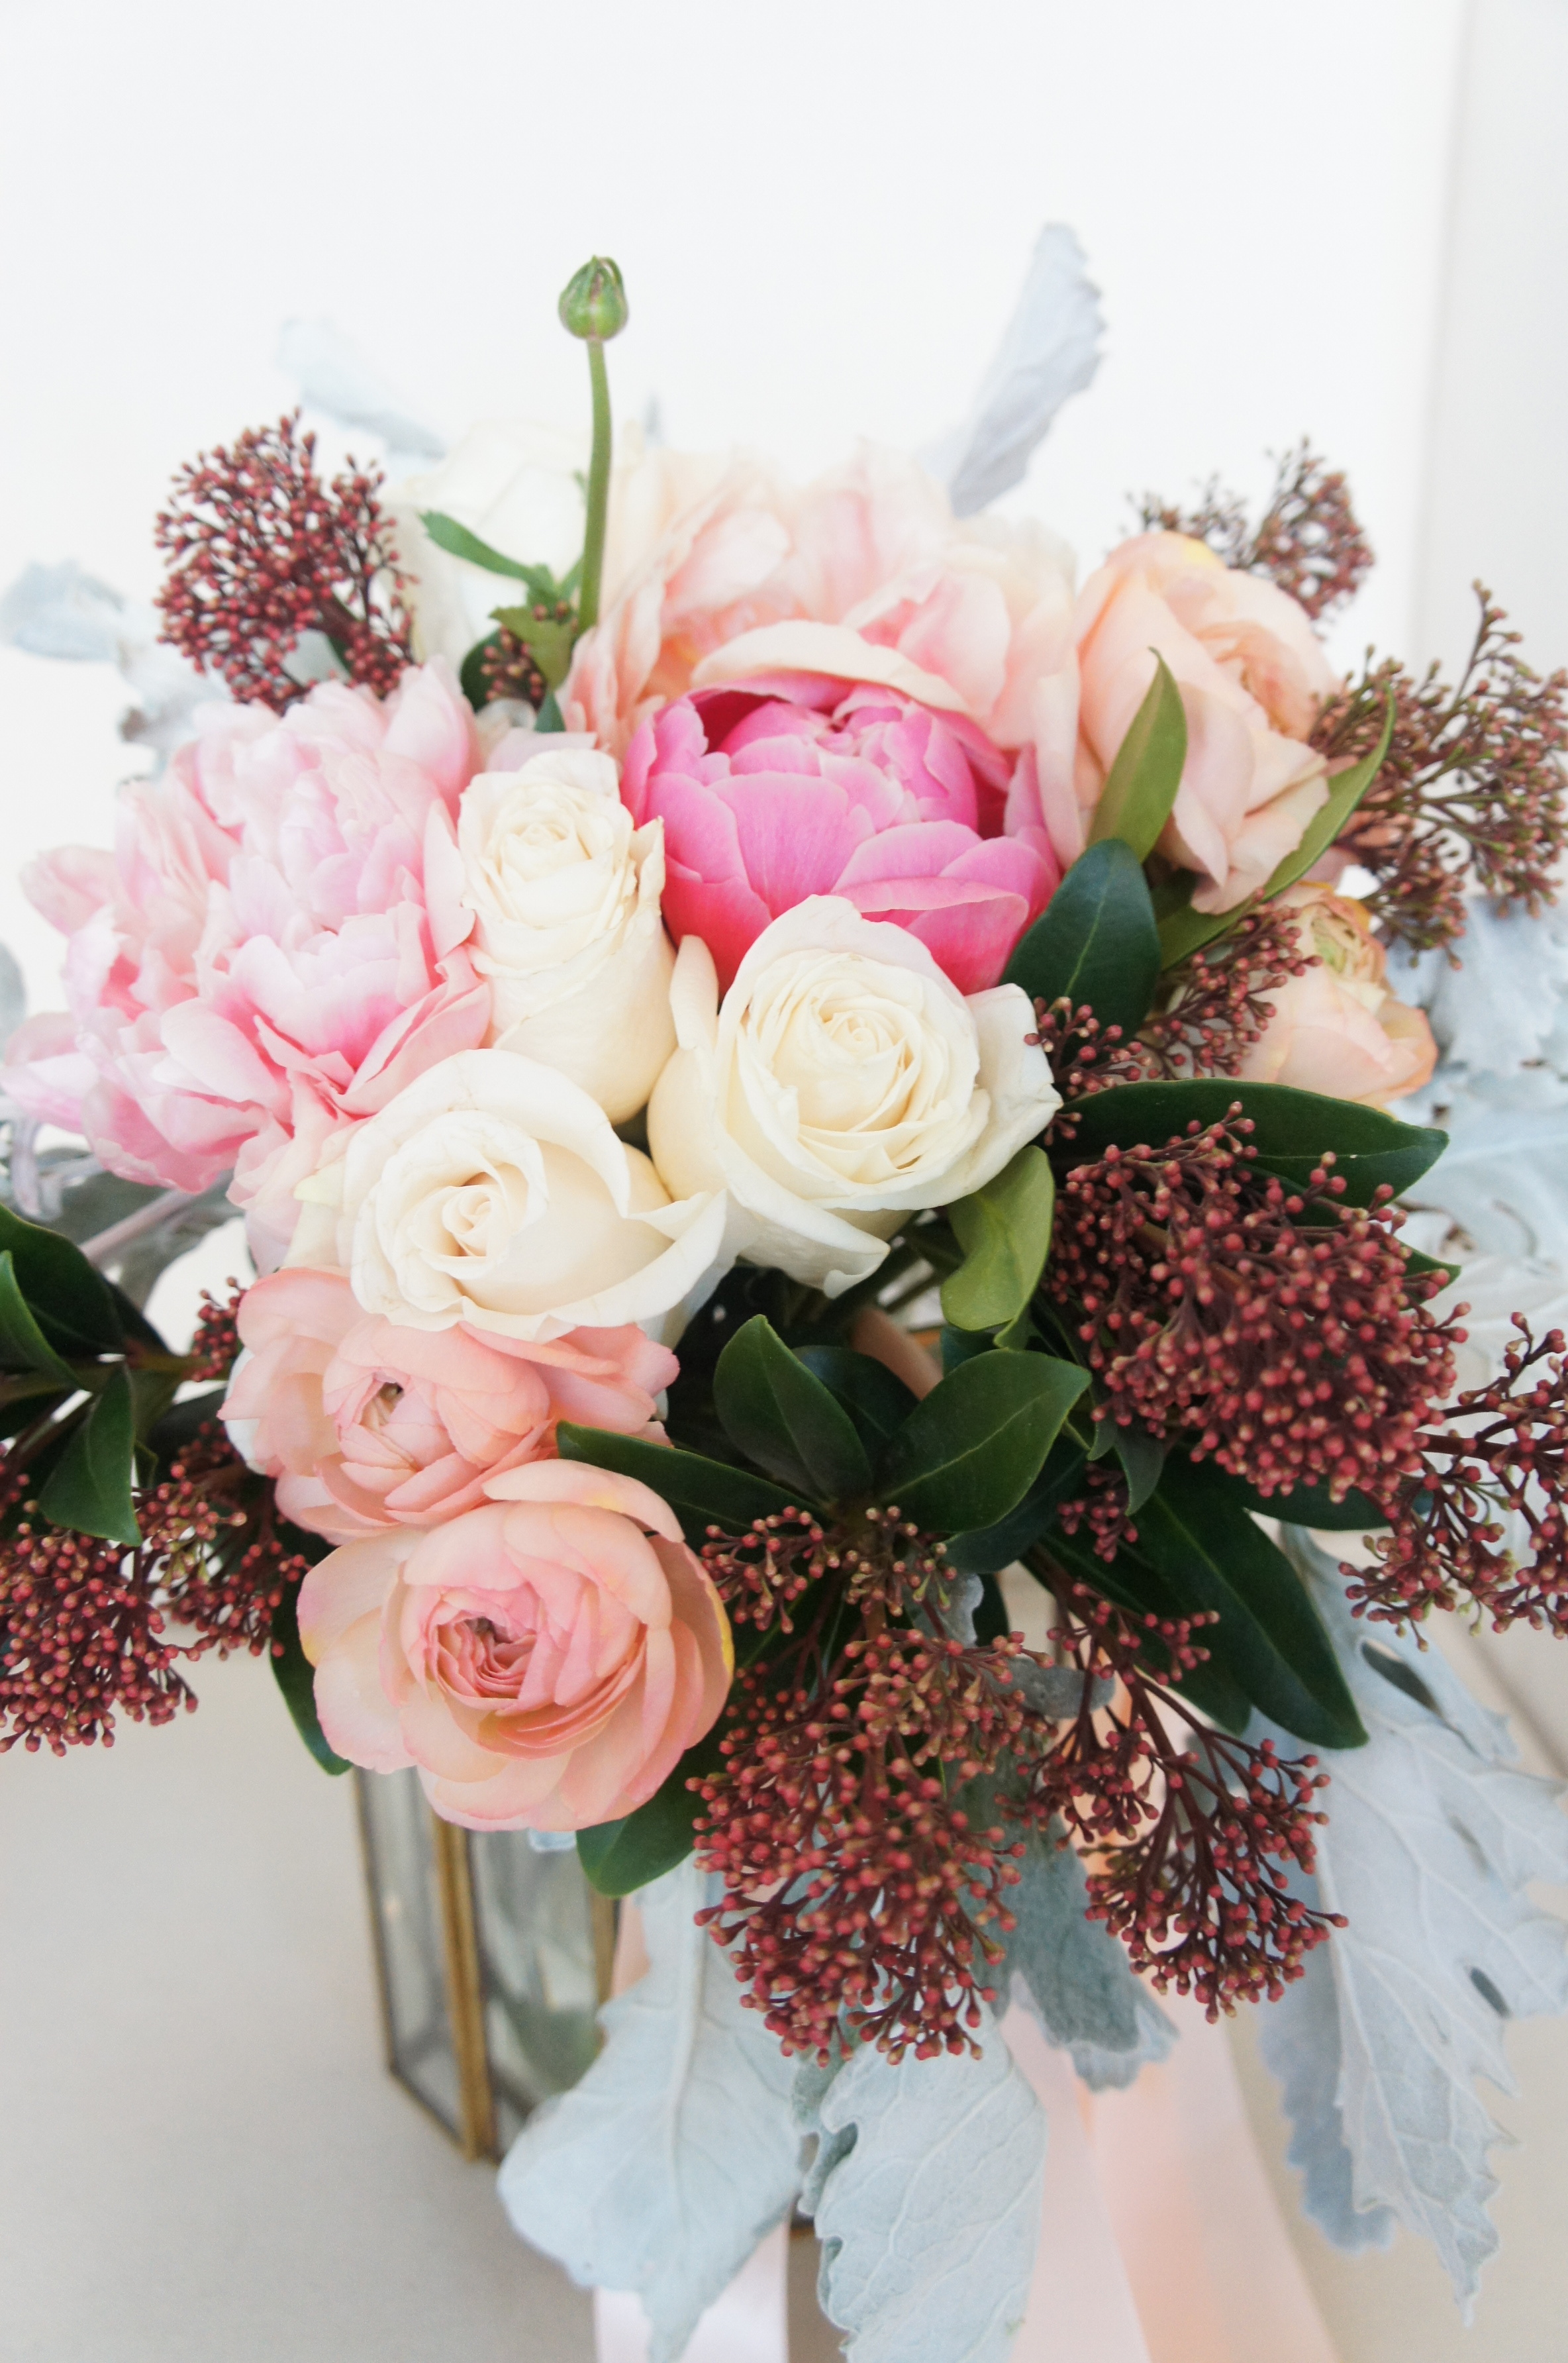
Flowers
- Peonies
- Ranunculus
- Roses
- Dusty Miller
- Skimmia
Supplies
- Floral Sheers or Scissors
- Floral Tape
- Pretty Pins
- Ribbon or Twine
- Flowers

Arranging Your Bouquet
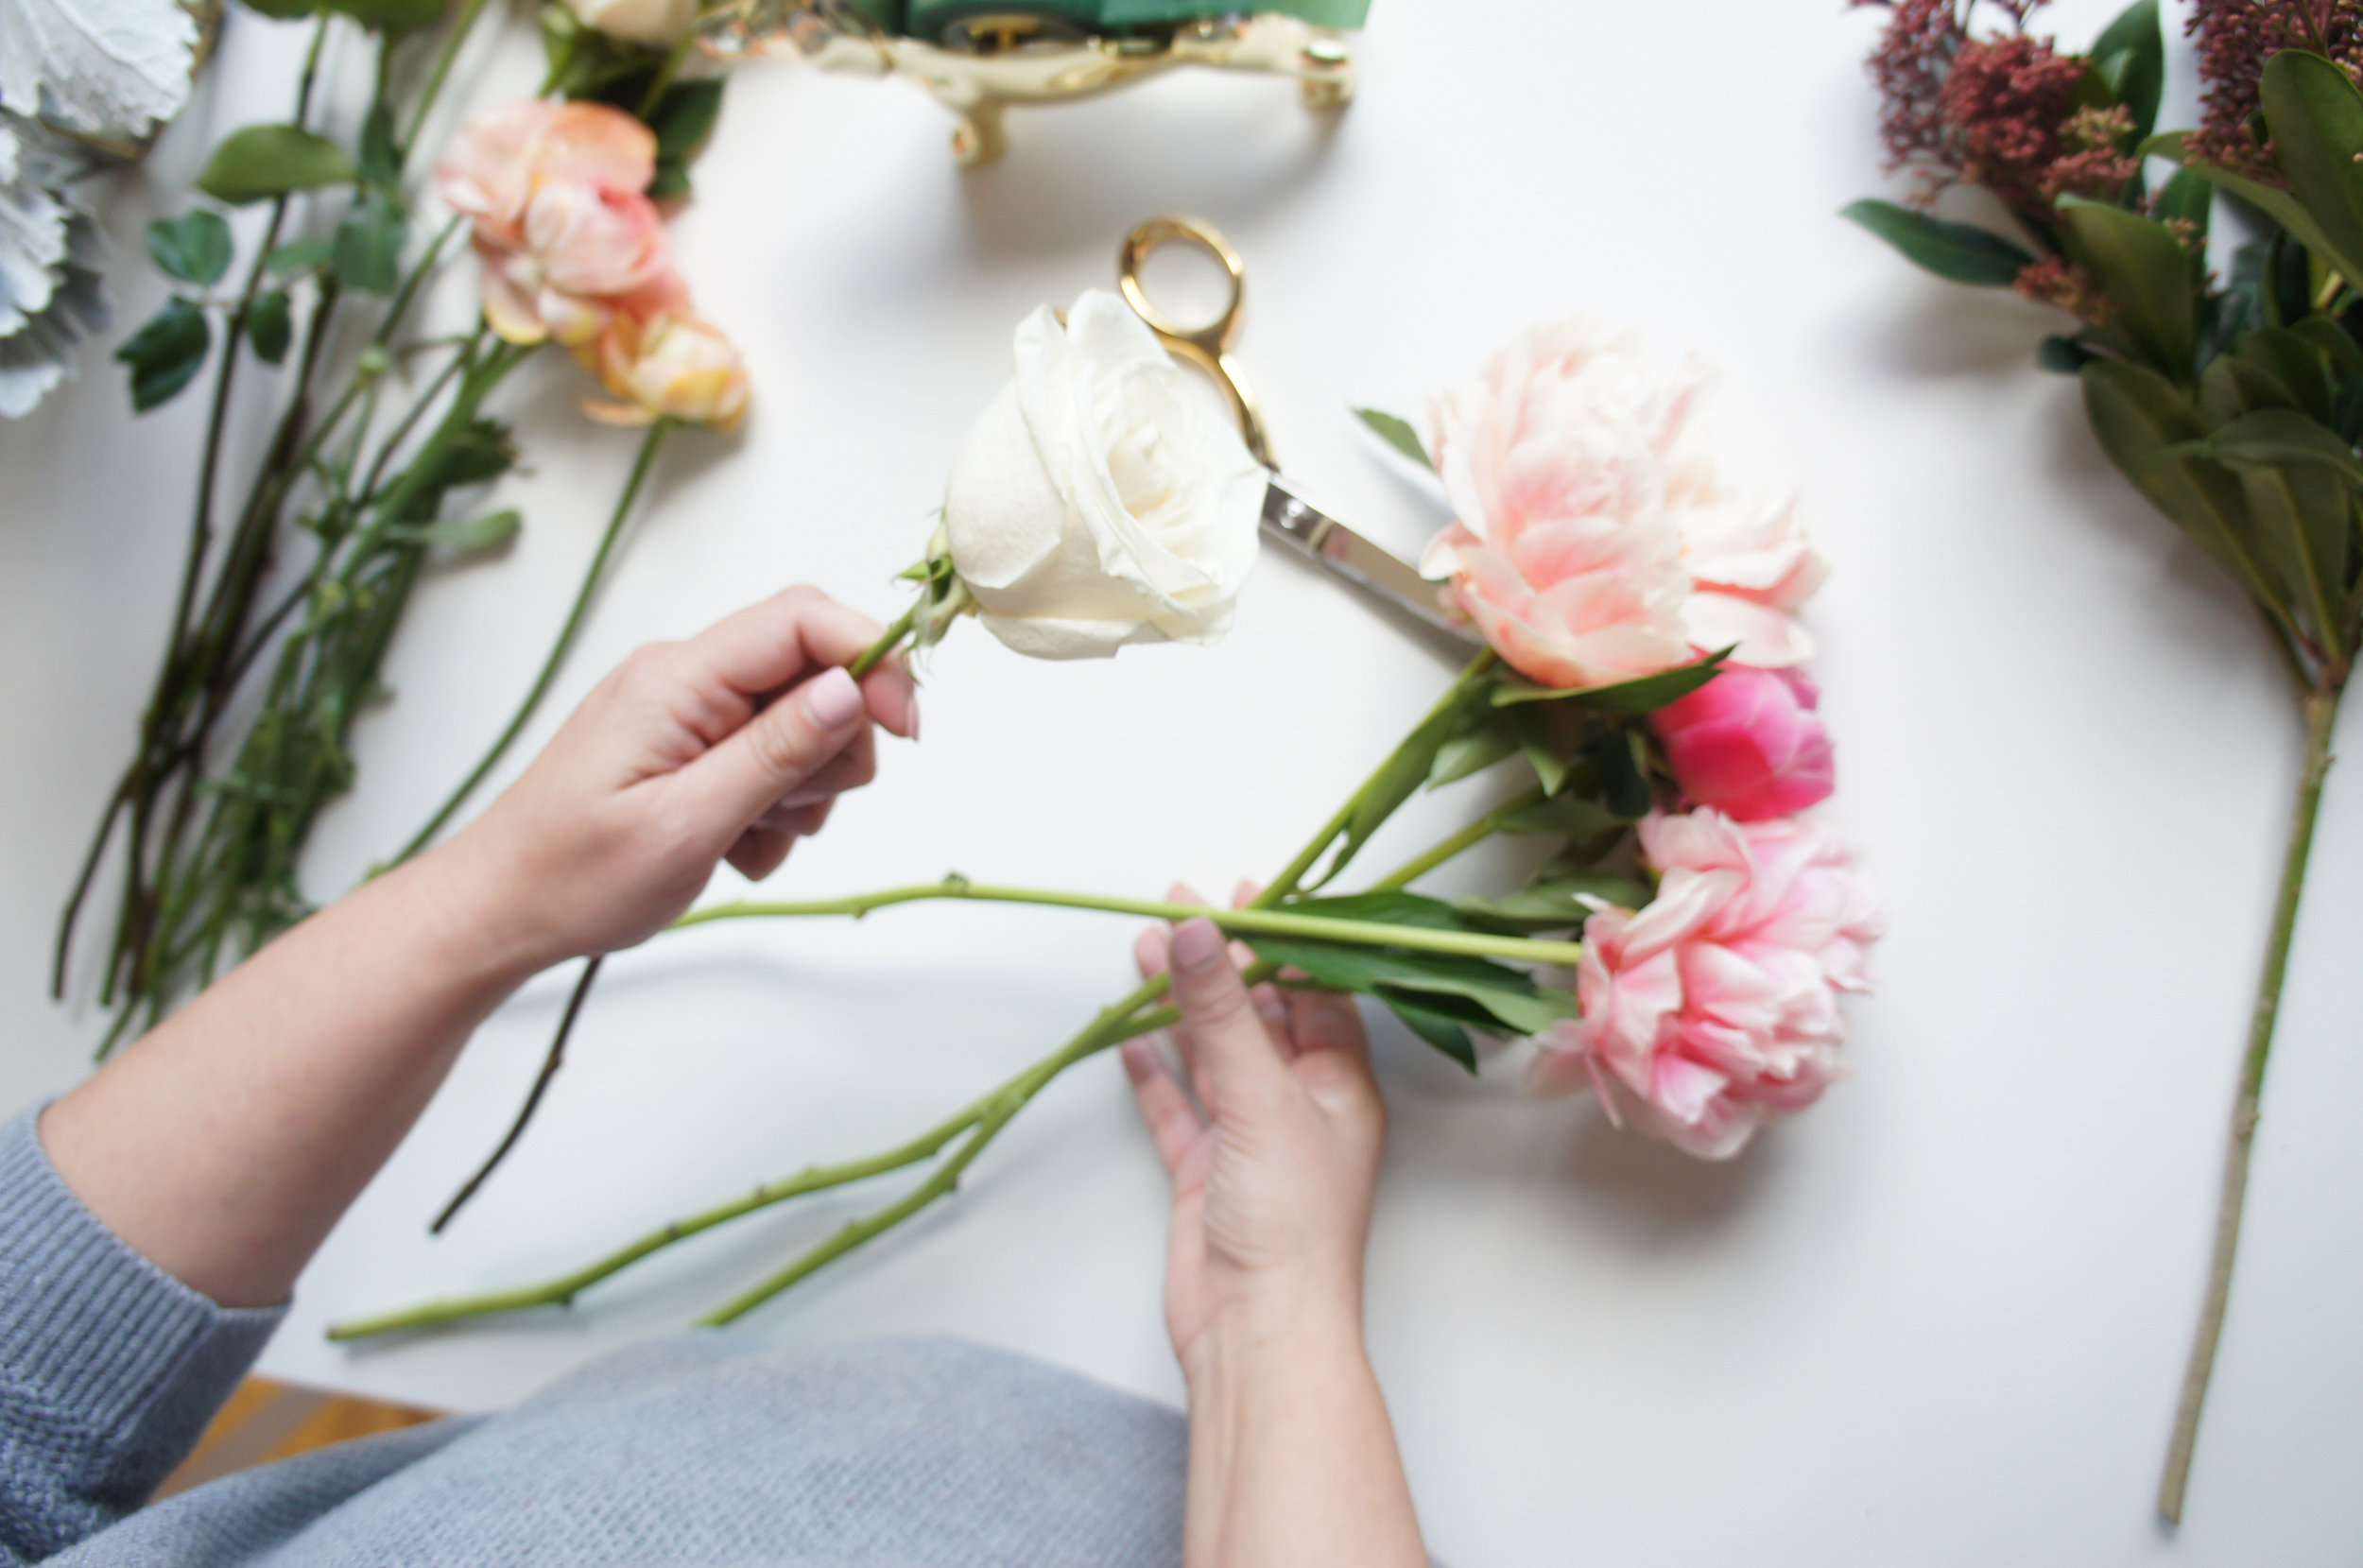
Step One:
Clean stems on flowers and remove foliage. De-thorn the roses.
Cut the length of all the stems for all of the flowers. Make sure the stems are about the same length.

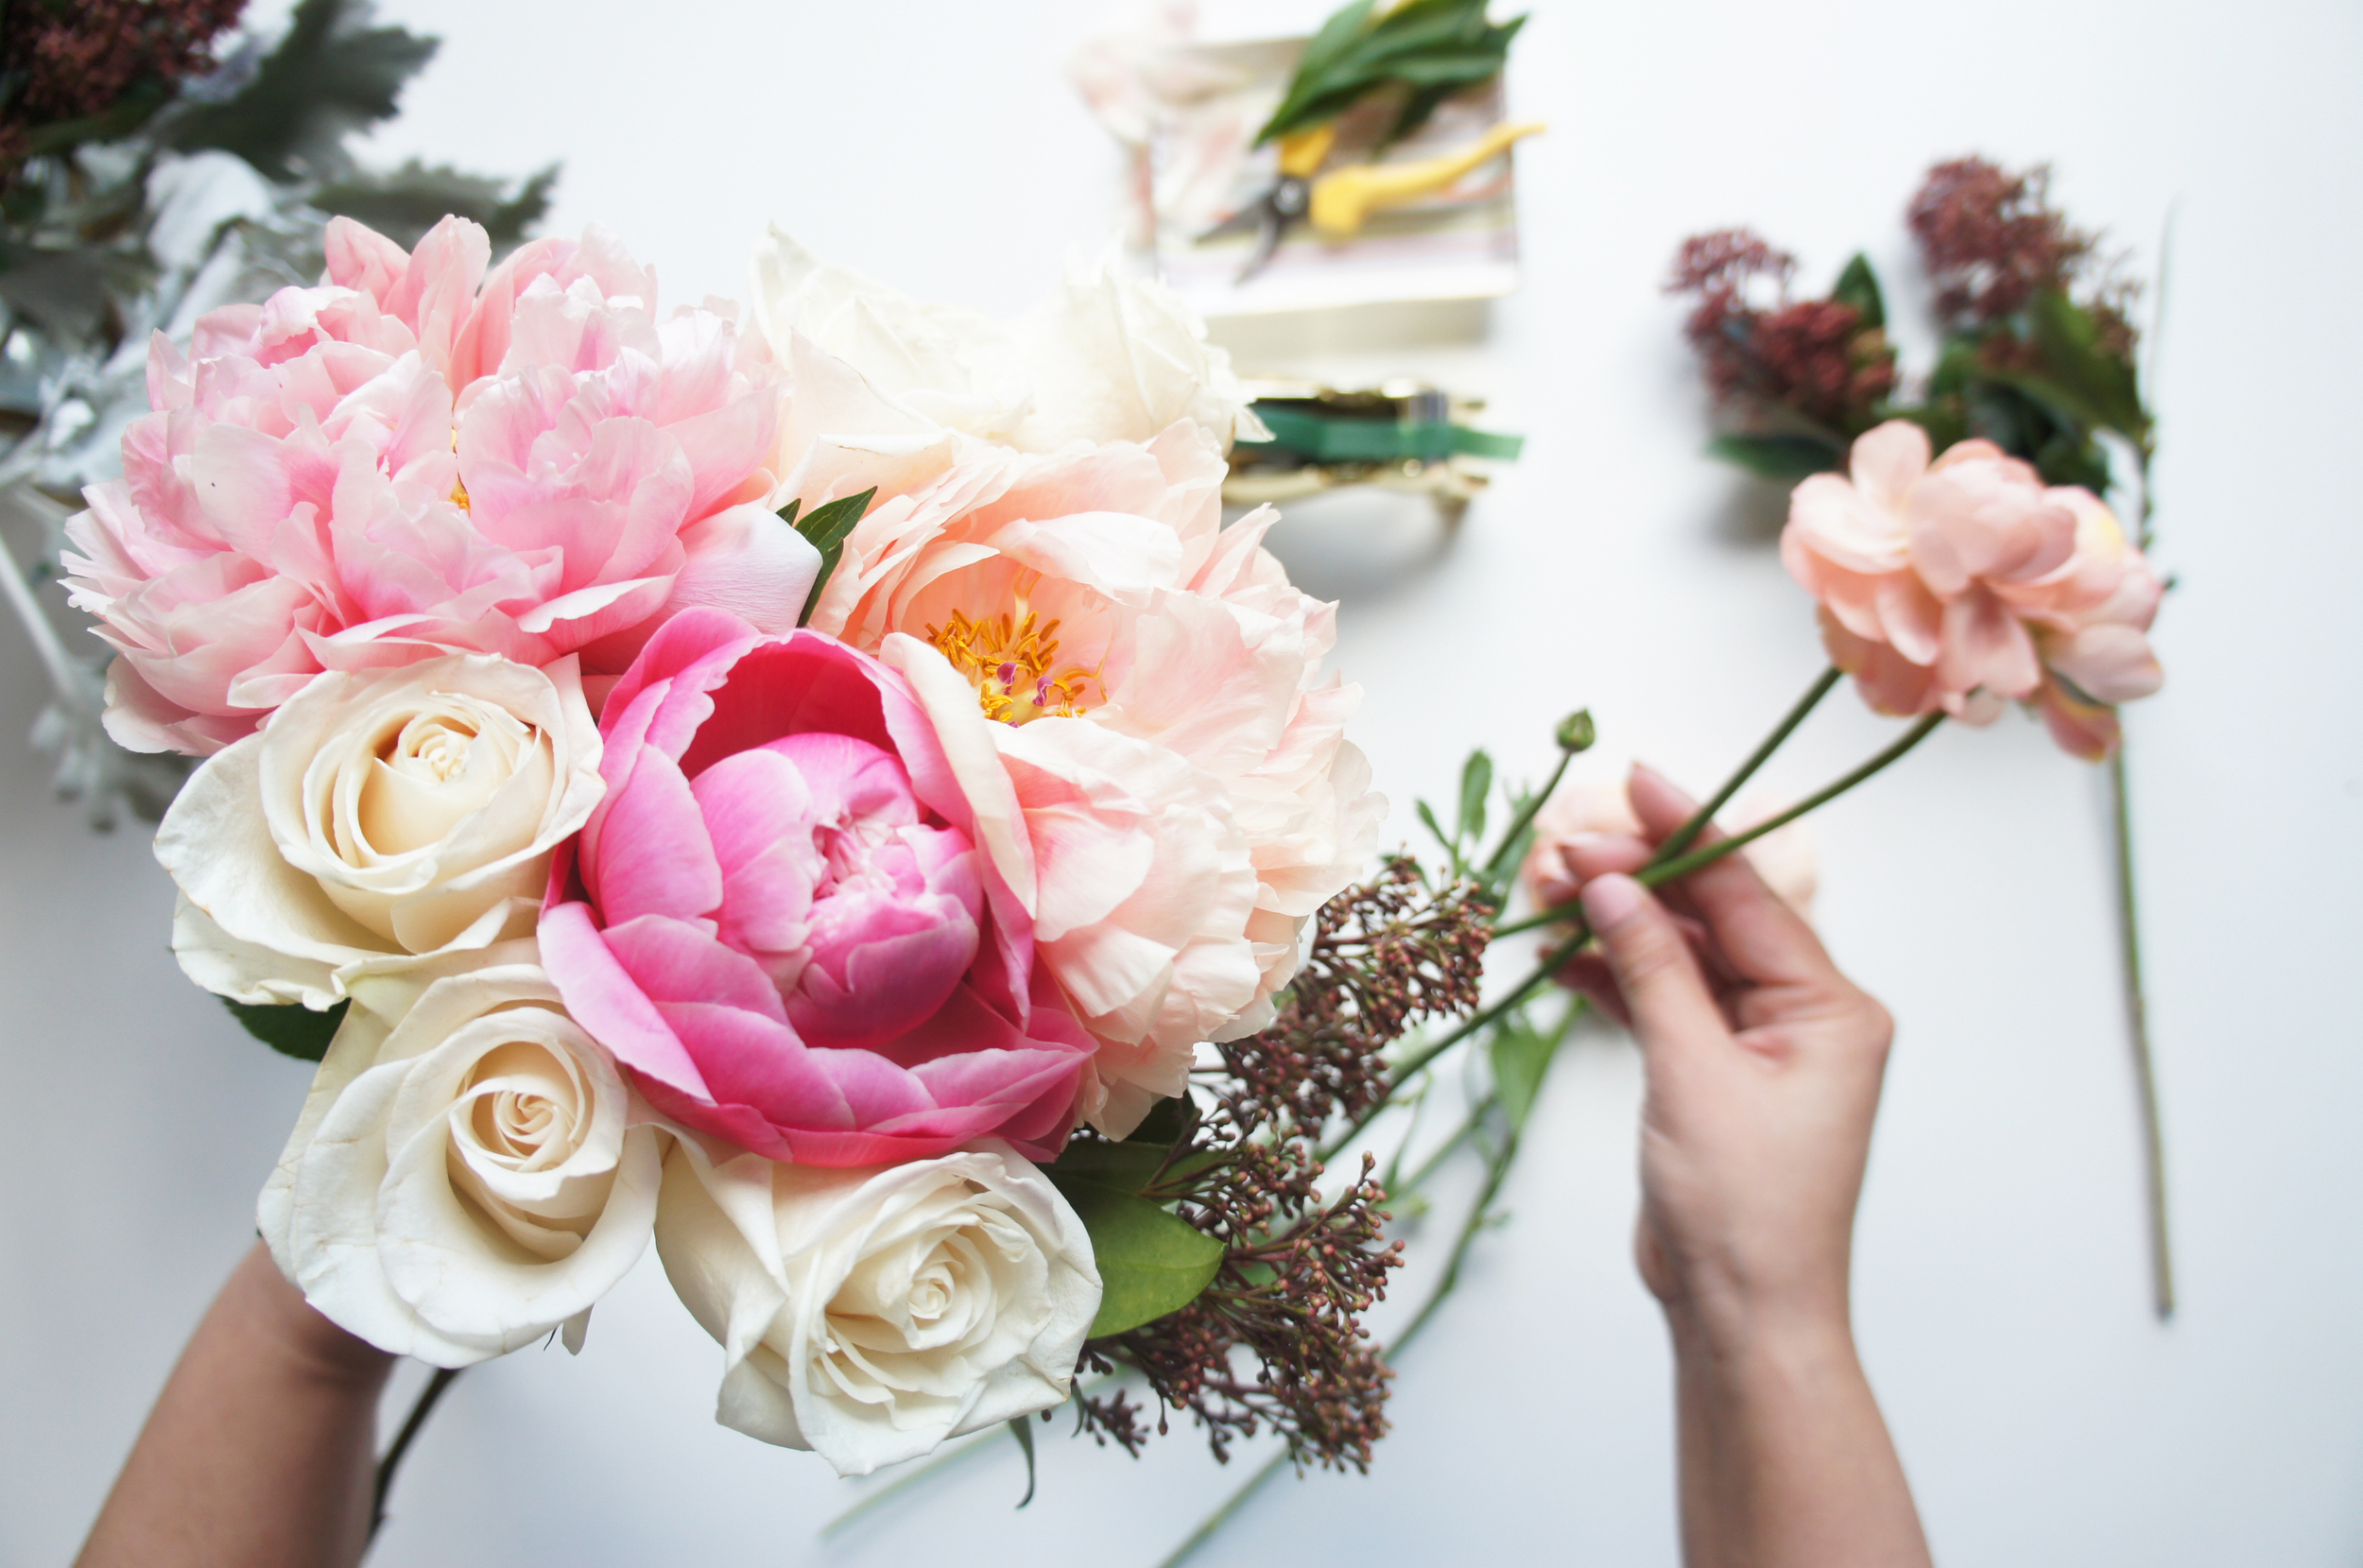
Step Two:
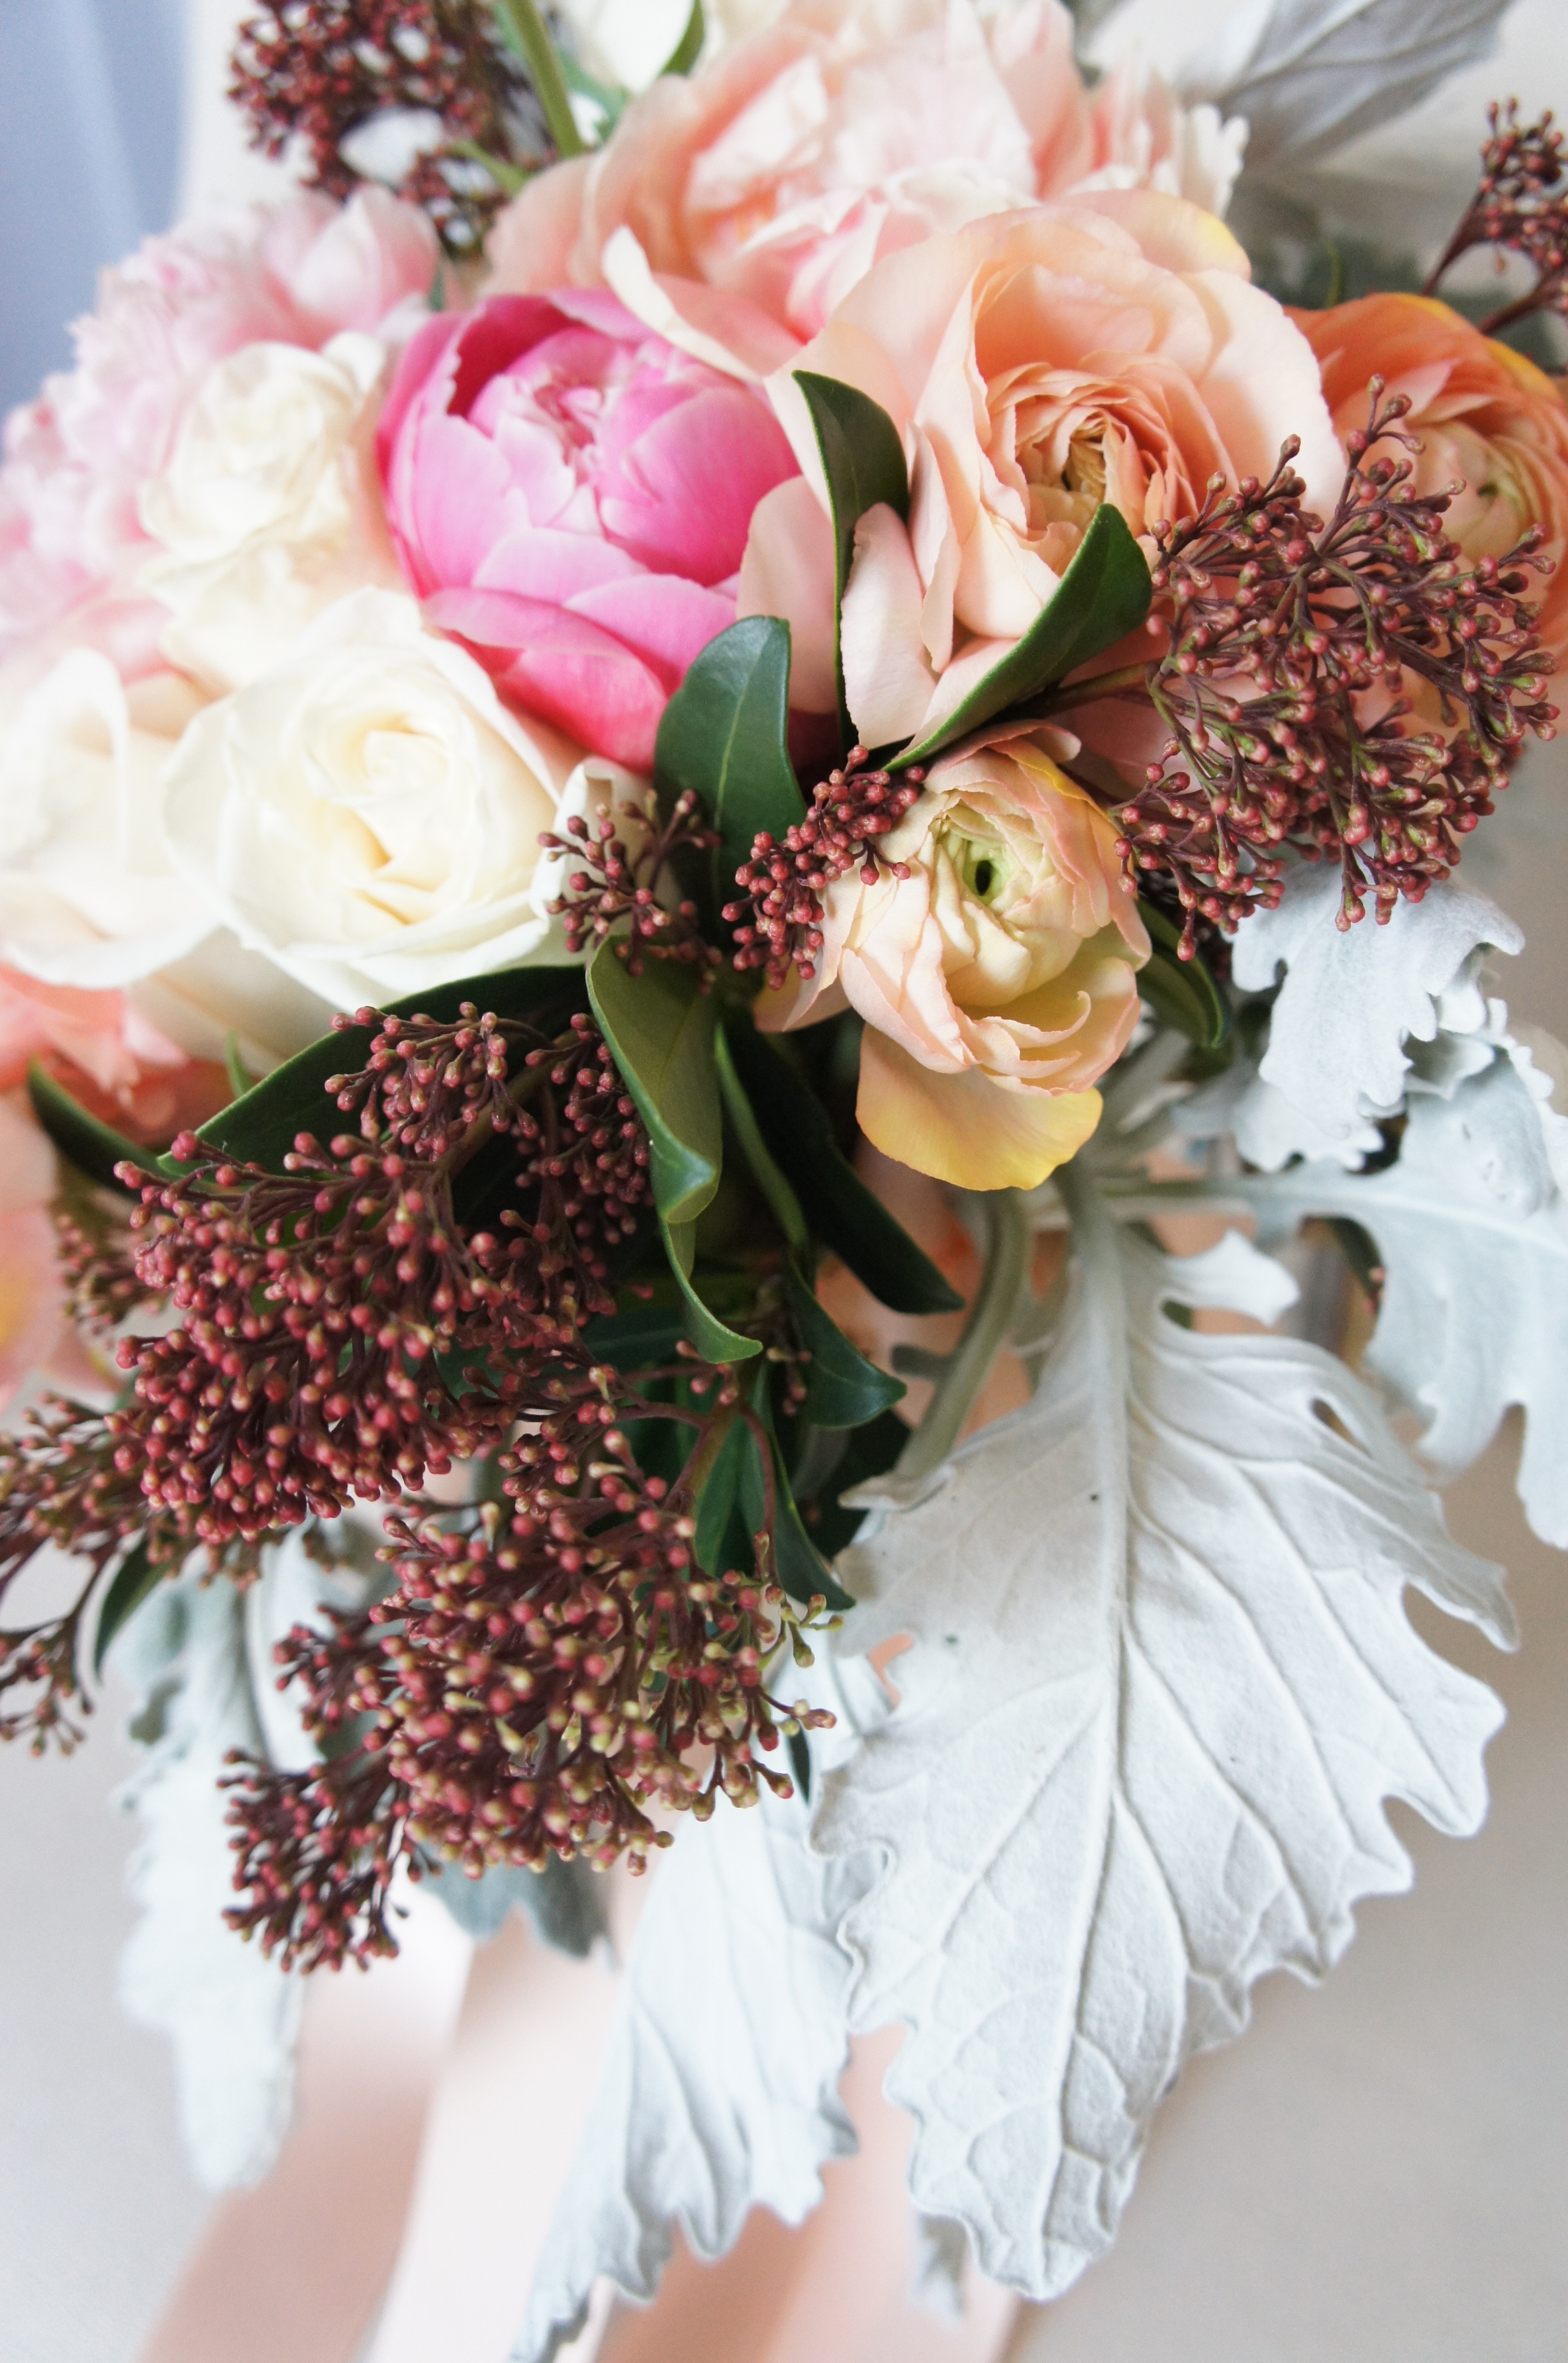
Pick two or three flowers to start the bouquet, this will anchor the bouquet. Start adding flowers and fillers as you please. Mix as many textures (foliage and flowers) as possible to create a visually interesting composition. Be mindful of the size in proportion to the person carrying it, you don't want it to be too big or too small! For sturdiness, wrap floral tape around as you add more flowers.
Step Three:
Once you have reached your desired size, wrap the stems with floral tape. Try to start 1.5 inches from the flowers. Leave about .5 inches of the stem at the bottom (or more, depending on the look you're aiming for).

Step Four:
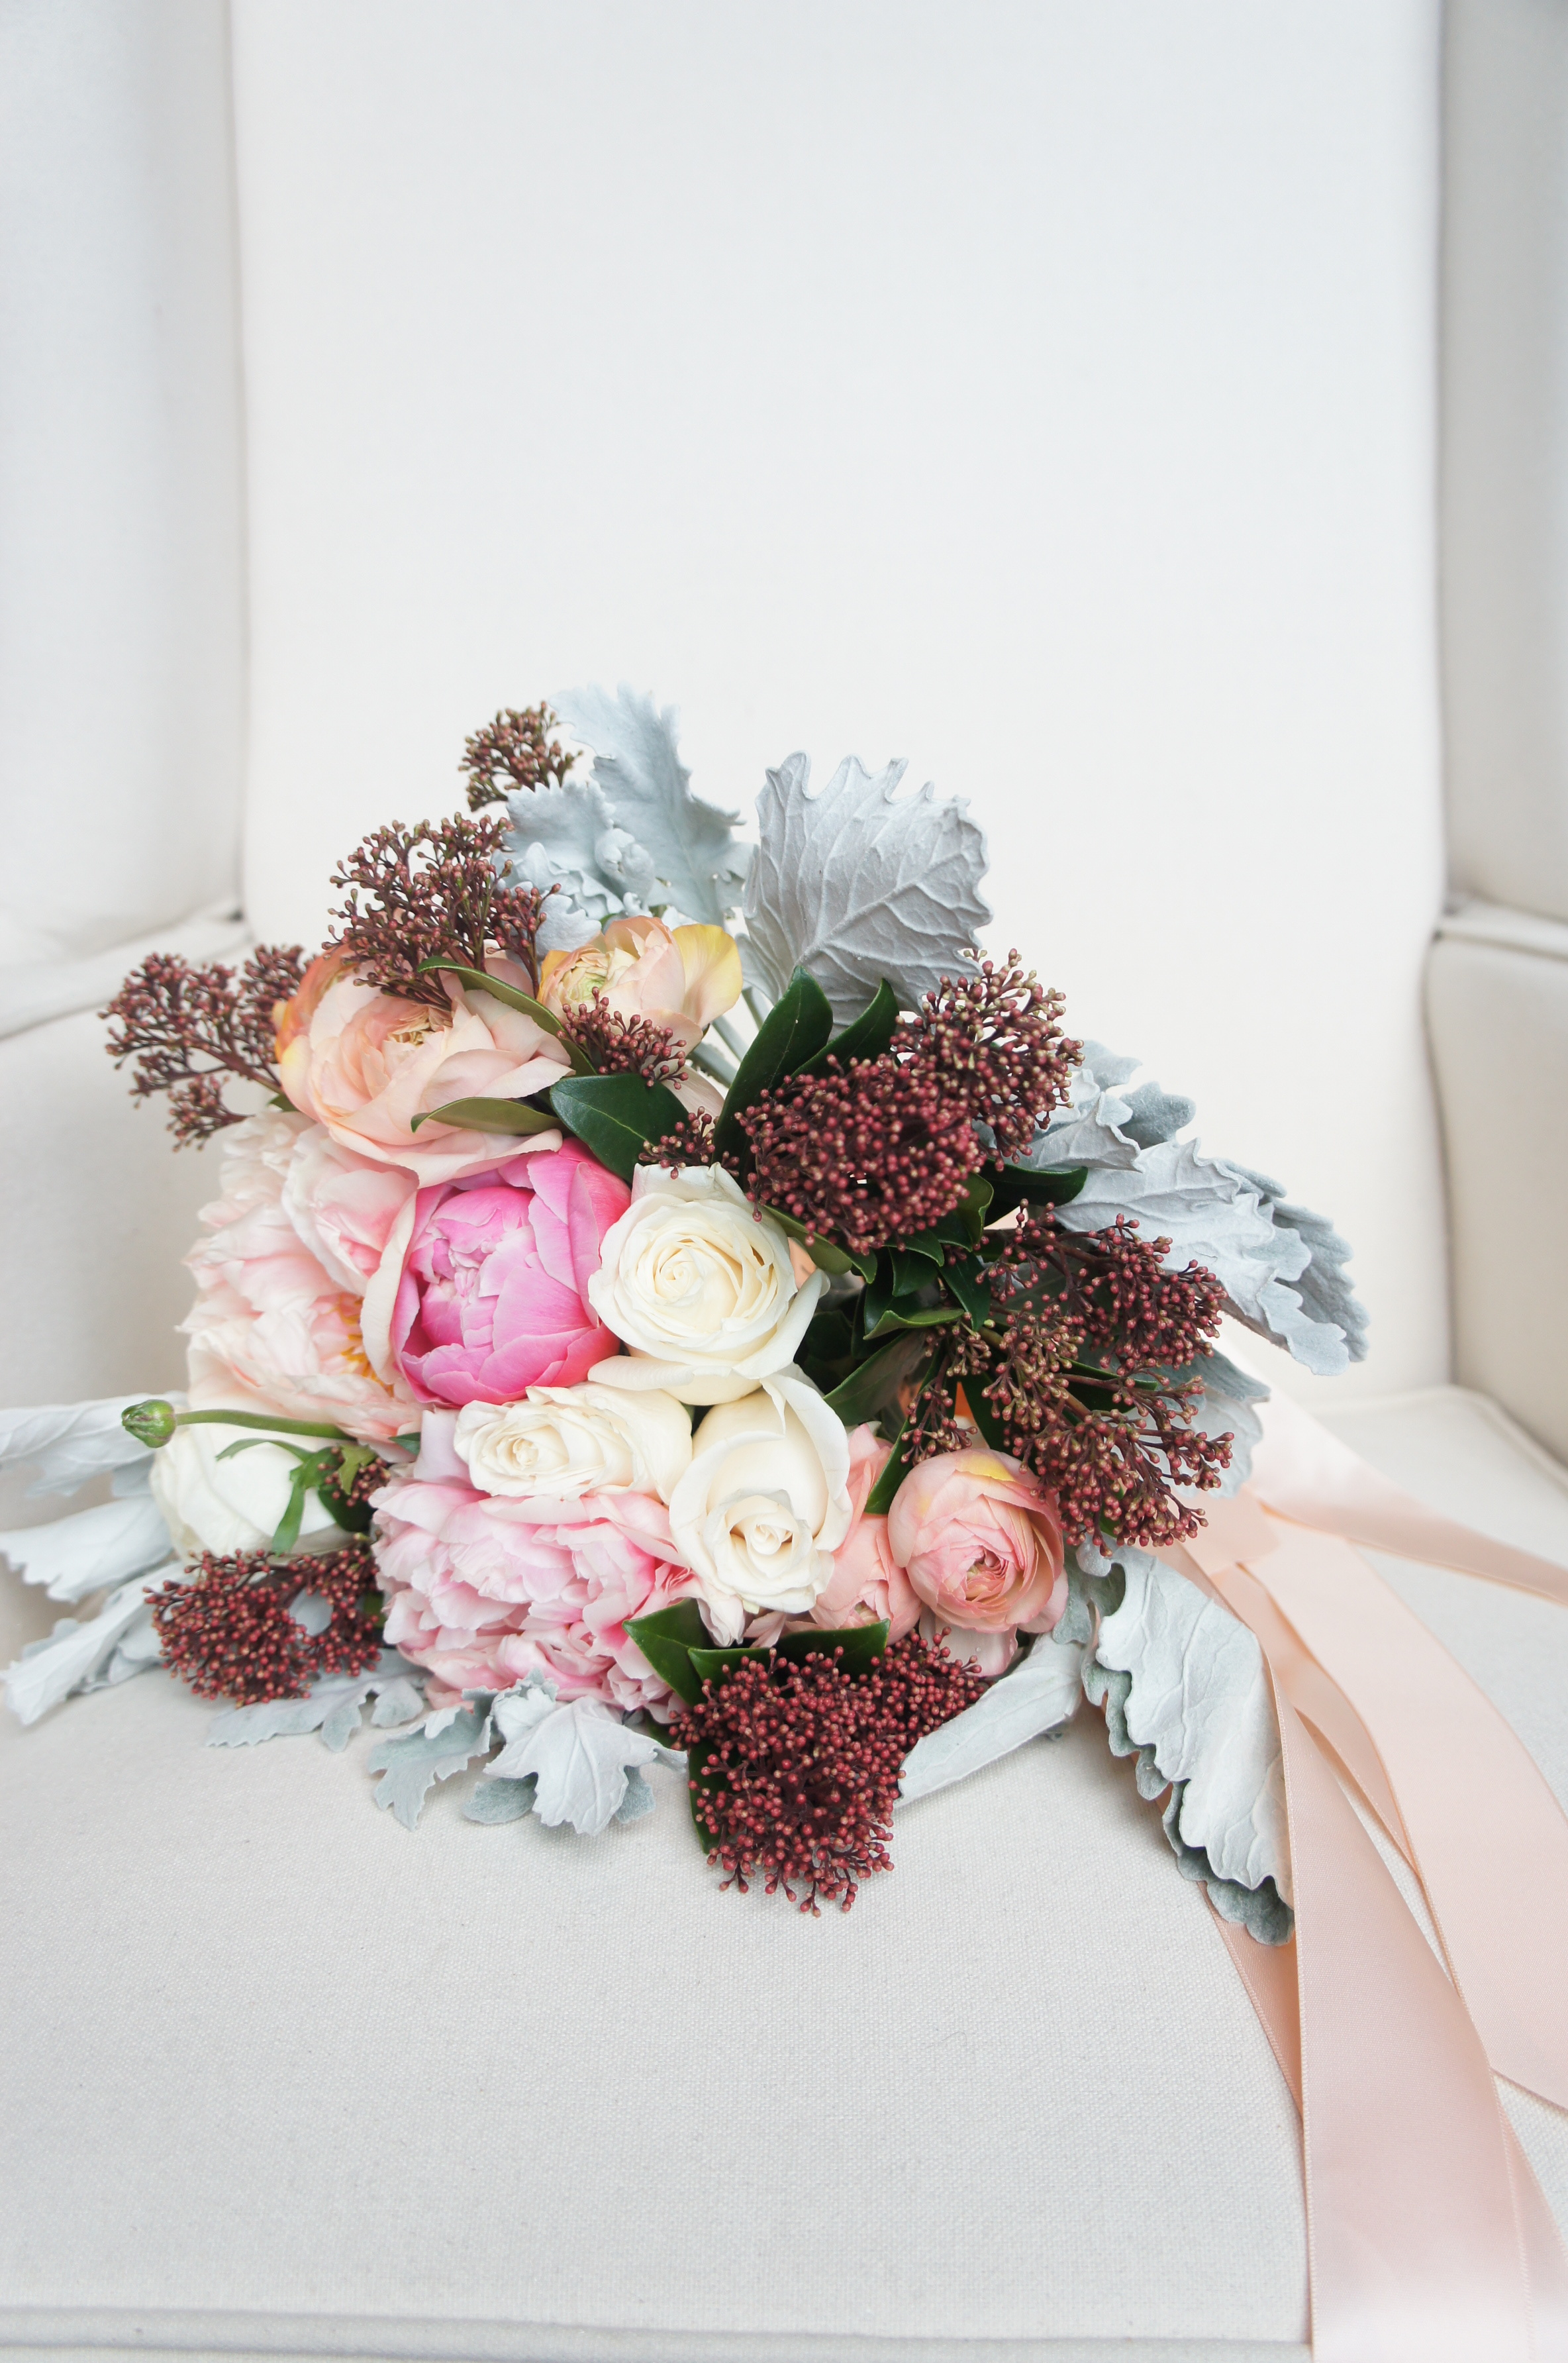
Cover the tape with ribbon and use the pins to secure. Style your ribbon based on your aesthetics or style of wedding!

Voilà! Your bouquet is complete!